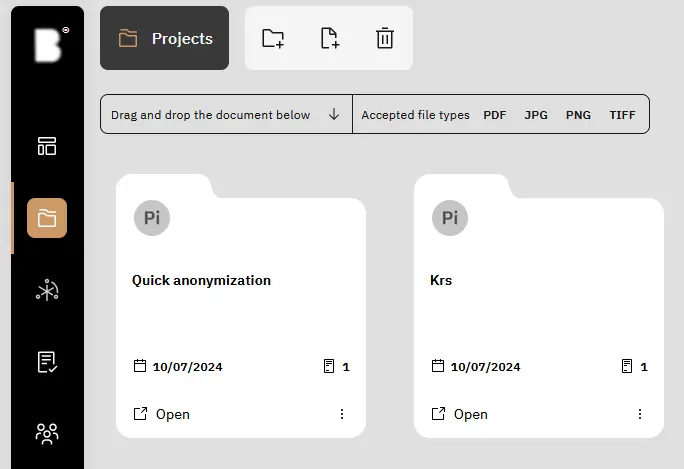
Before commencing document anonymization, it’s necessary to establish a project where documents can be securely submitted for processing. Access the ‘Projects’ tab by clicking the corresponding button located on the left-hand side.
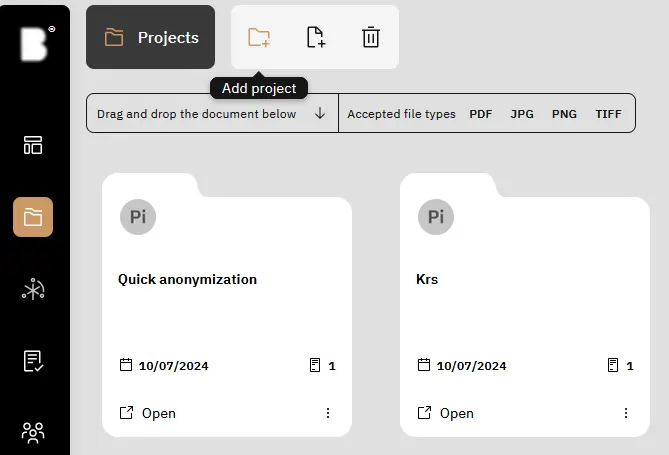
Create the project via the top menu bar.
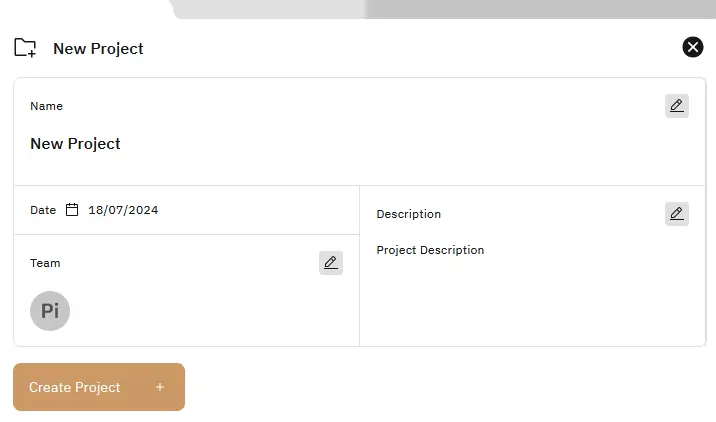
Enter a project name, description, tags, and select members to collaborate on it, then proceed by clicking the ‘Create Project’ button.
Click the “Add Document” button to upload a file to the project of your preference.
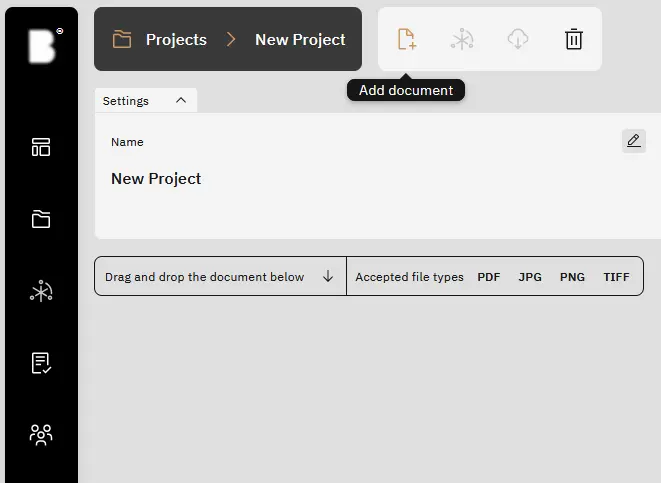
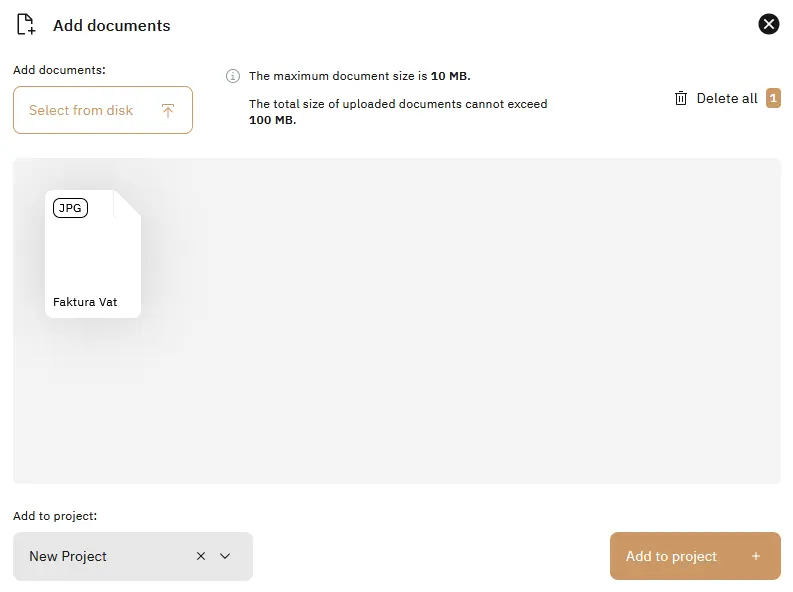
After clicking the “Select from disk” option, you can add files in the following formats: PNG, JPG, TIFF, PDF. The number of files able to be added depends on the limit stated above the file preview.
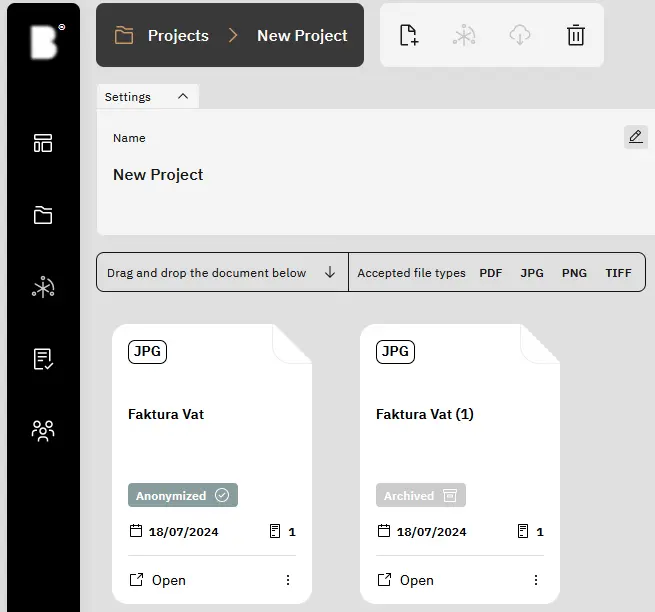
The uploaded file will be visible on the project page. Clicking “Open” will direct us to the classification preview.
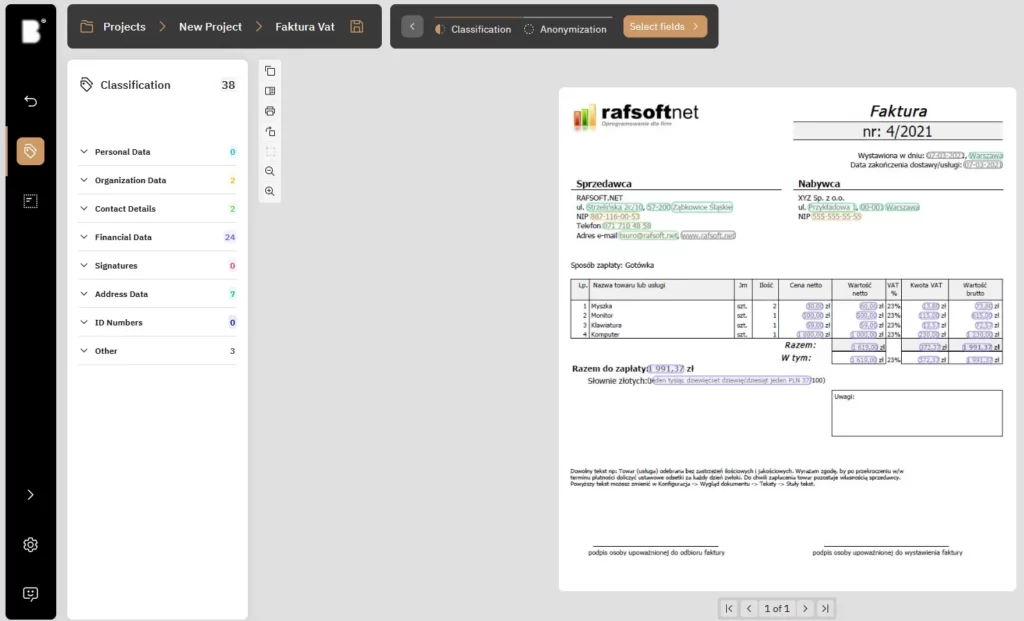
Classification View allows us to review what data needs anonymization. Once we have that sorted out, it is time for the anonymization.
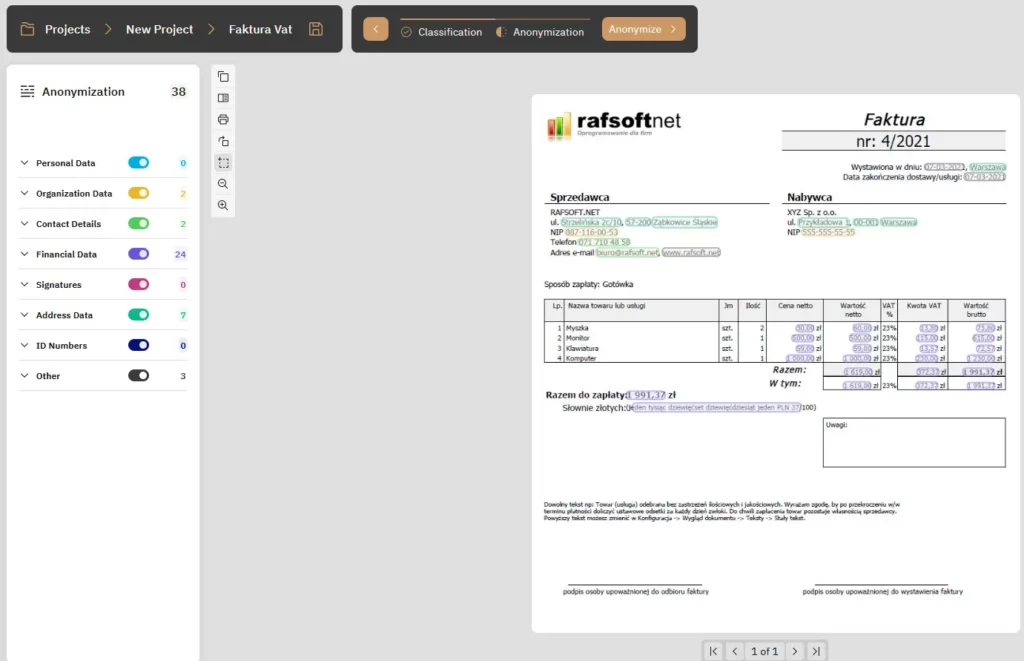
Next, we have access to a variety of redaction schemes tailored to your specific requirements. These schemes are customizable to accommodate different document types. Furthermore, you can create your own anonymization fields, denoted by a square icon next to the rotation option. To finalize the anonymization process, simply click the ‘start anonymization’ button located above the document.
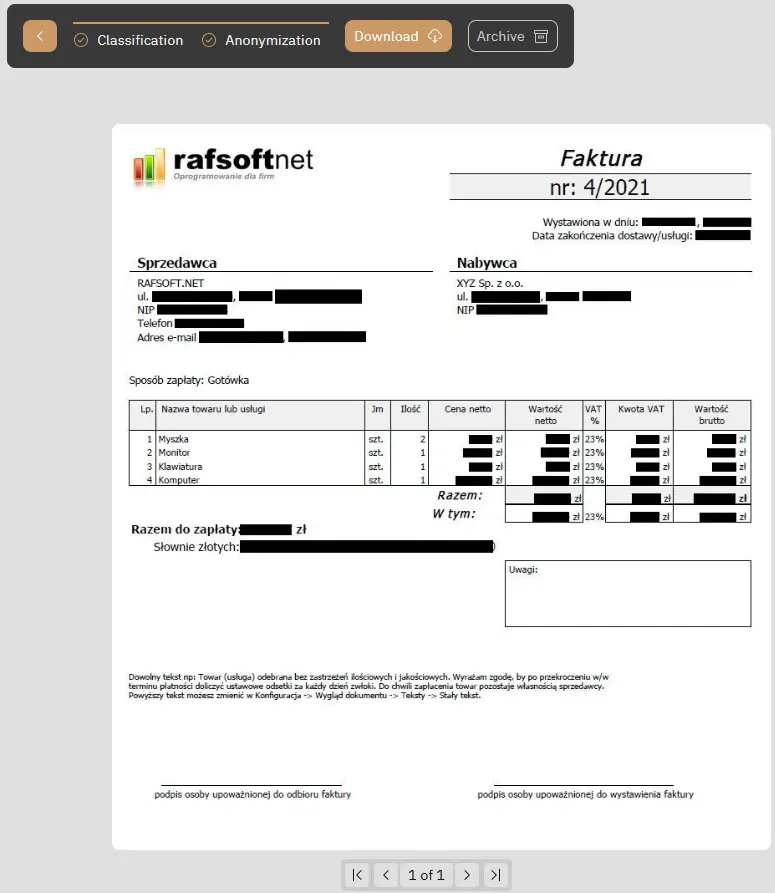

Once the redaction process finishes, you’ll have the option to print or download the redacted document. To enhance security, the original document will be automatically removed after 7 days. Additionally, the document status will be updated to ‘anonymized’ within the project window.